August 29, 2026
Measure Backyard for Planning: Step-by-Step Methods
Measure backyard for planning with reliable tools and methods. Follow this guide to conduct an accurate site survey and prepare your backyard layout with clea
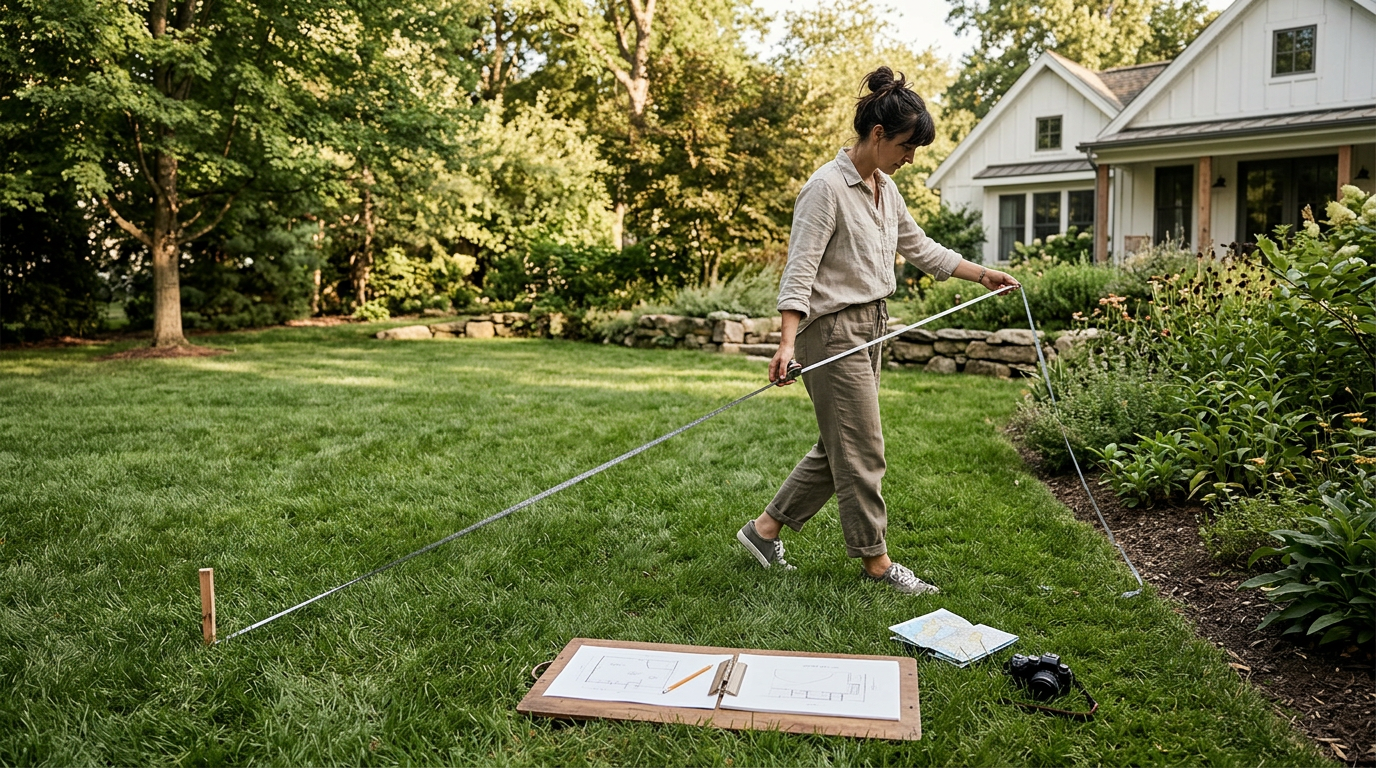
Measure Backyard for Planning: Step-by-Step Methods
Accurate measurements form the foundation of any successful backyard project. Begin by identifying the exact dimensions and features of your space before selecting plants, structures, or layouts. This approach reduces costly adjustments later.
Key takeaways:
- Start with basic perimeter measurements before adding details.
- Use consistent units throughout the entire process.
- Record both horizontal distances and vertical changes.
- Cross-check data against property records.
- Prepare data in a format ready for design software.
Select Appropriate Yard Measurement Tools
Choose tools that match the size and complexity of your yard. Simple projects may require only basic items, while larger sites benefit from digital options. Consider the terrain and weather exposure when deciding between manual and electronic devices.
- Tape measure for straight-line distances up to 100 feet.
- Laser distance meter for quick readings over 200 feet.
- GPS handheld unit for boundary mapping in open areas.
- Clinometer or smartphone app for slope angles.
- Notebook and graph paper for manual sketches.
- Level rod for establishing consistent elevation references.
- Compass for confirming orientation on each measurement line.
Conduct an Accurate Site Survey
An accurate site survey captures all fixed elements that affect layout decisions. Walk the property first to note visible markers such as fences, utility poles, and trees. Repeat the walk at different times of day to observe shadow patterns from existing structures.
- Locate property boundary markers using recorded deeds.
- Measure each side twice to confirm consistency.
- Note any easements or setbacks required by local codes.
- Photograph each corner for later reference.
- Flag temporary reference points with survey tape.
Measure the Perimeter and Boundaries
Perimeter data provides the outer limits for all planning work. Record each segment separately rather than relying on a single total length. For properties with irregular shapes, break the outline into triangles and record the lengths of all three sides.
- Walk each side in sequence and mark turning points.
- Record measurements to the nearest inch.
- Account for curves by dividing them into straight segments.
- Check against county plat maps for discrepancies.
- Note fence locations relative to the legal boundary line.
- Measure gate widths and post spacing for access planning.
Document Slopes and Elevation Changes
Elevation data influences drainage, foundation placement, and plant selection. Measure changes along multiple transects across the yard. Compare results with public topographic information from USGS elevation resources to identify any major discrepancies early.
- Establish a benchmark point at the highest corner.
- Take readings every 10 feet along selected lines.
- Calculate total rise or fall between points.
- Note areas with more than 5 percent grade.
- Record low spots that may collect water after storms.
- Measure height of retaining walls if present on the site.
Account for Existing Features
Existing features constrain new layouts. Measure the position and size of each element relative to boundaries. Include both above-ground and below-ground items that could affect excavation or root zones.
- Trees: trunk diameter, canopy spread, and distance to edges.
- Structures: shed or deck dimensions and door locations.
- Utilities: underground lines marked by local providers.
- Hardscape: patio or path widths and materials.
- Irrigation heads and valve boxes with their coverage radii.
Assess Soil and Drainage Factors
Soil conditions determine plant viability and the need for amendments or grading adjustments. Collect samples from several locations and note texture, compaction, and drainage speed. Observe how water moves after a heavy rain to identify persistent wet zones.
- Dig test holes at least 12 inches deep in representative areas.
- Time how long water takes to drain from each hole.
- Note soil color changes that may indicate compaction layers.
- Record any visible erosion channels or sediment deposits.
- Map areas where standing water remains longer than 24 hours.
Compare Measurement Methods
Different methods offer trade-offs in speed, cost, and precision. Review the options before selecting one for your project.
| Method | Typical Accuracy | Time Required | Cost Range | Best For |
|---|---|---|---|---|
| Tape measure | ±1 inch | High | Low | Small rectangular yards |
| Laser meter | ±1/8 inch | Medium | Medium | Medium lots with obstacles |
| GPS unit | ±3 feet | Low | High | Large open properties |
| Professional survey | ±0.1 foot | Low | High | Complex or disputed sites |
Prepare Data for Backyard Layout Prep
Organized data speeds up the design phase. Convert field notes into a scaled drawing or digital file. Include a legend that explains every symbol and abbreviation used on the plan.
- Create a simple grid with 5-foot increments.
- Label each measurement clearly with units.
- Include north orientation on every sheet.
- Store photos with location tags.
- Export the base plan as both PDF and CAD-compatible formats.
Verify and Cross-Check Your Data
Verification prevents downstream errors. Compare new measurements against existing records. Reference the National Geodetic Survey control points when available through NOAA geodetic resources to confirm absolute elevations.
- Review local building department files for prior surveys.
- Re-measure any dimension that differs by more than 2 percent.
- Confirm utility locations with the one-call service.
- Test digital files in free planning software before final use.
- Compare slope percentages against published soil survey data from the USDA Web Soil Survey.
Integrate Data into Planning Software
Transfer verified measurements into design programs to test multiple layout options. Maintain a separate layer for each category of feature so adjustments remain isolated. Export scaled views at 1:100 and 1:50 ratios for detailed review.
- Import boundary and elevation layers first.
- Add tree and structure symbols with correct diameters.
- Run drainage simulations using the recorded grades.
- Generate material quantity estimates directly from the model.
- Save versioned files with dates to track changes.
Conclusion
Apply these measurements directly to your first layout sketch. Adjust plant spacing and structure placement based on the recorded dimensions rather than estimates. This step produces a plan that fits the actual site conditions.
Next steps:
- Order a current property survey if markers are missing.
- Input data into design software within one week.
- Schedule a site visit with a landscape professional for complex grades.
- Review local setback rules before ordering materials.
- Print scaled copies for on-site verification during construction.
FAQ
What is the minimum number of measurements needed for basic planning?
Record at least the four boundary lengths, two diagonal checks, and the location of the main structure.
How often should elevation be measured on a sloped yard?
Take readings every 10 feet along at least three parallel lines to capture the overall grade pattern.
Can smartphone apps replace dedicated tools?
Apps work for preliminary estimates but lack the precision required for construction documents.
When should a professional survey be ordered?
Order one when boundary markers are absent or when planned structures approach setback limits.
How do you store measurements for long-term use?
Convert notes to a scaled PDF and back up the file with cloud storage labeled by date and project name.